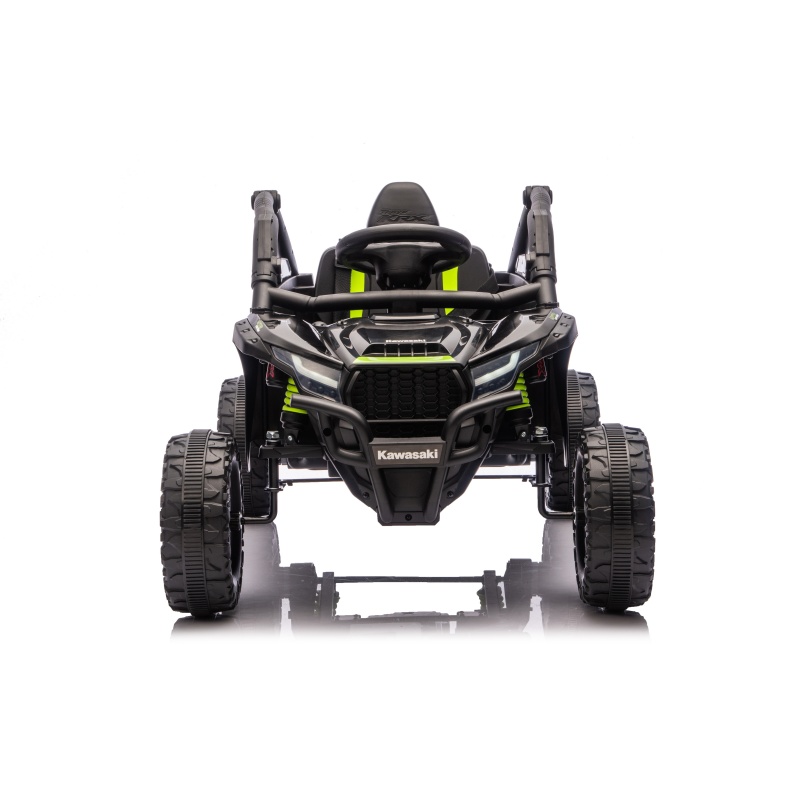
Few things disappoint a child more than a vehicle dragging to a halt mid-play. When you notice a kids electric car slow to accelerate or struggling to maintain a walking speed, it ruins the outdoor experience. Parents often feel stuck. You need to know if the issue stems from a simple user error, a degraded part requiring replacement, or a sign your child has outgrown the limits. We understand this specific frustration. This article provides a systematic diagnostic framework. We will help you isolate the true cause behind a ride on car losing power. You will learn actionable steps to test electrical components safely. We also offer a clear cost-benefit analysis for repairing parts versus replacing the vehicle entirely. By following these checks, you can confidently restore your child's favorite toy.
Key Takeaways
Battery health is the #1 culprit: Most SLA (Sealed Lead Acid) batteries degrade after 1-3 years; testing voltage is the mandatory first step.
Terrain and weight dictate performance: A 12V ride on car slow on grass may be functioning perfectly but operating outside its mechanical threshold.
Motor and wiring faults are verifiable: Burnout, stripped gearboxes, and loose pedal switches require specific visual and auditory checks.
Repair vs. Replace: Upgrading a battery is cost-effective, but structural motor issues often justify investing in a higher-voltage (24V+) vehicle.
The Power Source: Diagnosing Ride On Car Battery Problems
Expected Battery Lifespan and Degradation
SLA (Sealed Lead Acid) chemistry powers most 6V, 12V, and 24V vehicles. These batteries typically last one to three years. Their lifespan depends heavily on your charging habits. Improper charging quickly ruins their capacity. For instance, leaving a battery depleted over the winter causes permanent sulfation. Lead sulfate crystals harden on the internal plates. This prevents the battery from holding a full charge. Overcharging also boils away the internal electrolyte. To avoid early ride on car battery problems, always unplug the charger once it indicates full.
Here are three habits to prolong battery life:
Always charge the battery for 8-12 hours after every use.
Never leave the battery depleted for extended periods.
Disconnect the terminals before storing the toy for winter.
How to Test Output with a Multimeter
Testing voltage acts as your mandatory first diagnostic step. Grab a digital multimeter and set it to DC voltage. A healthy, fully charged 12V battery should read between 12.6V and 13V while resting. If it reads below 12V after a full night of charging, you need a replacement. We must also check for "voltage sag." Sometimes a battery shows 12.6V at rest but drops to 9V when placed under load. This explains why the car dies as soon as your child presses the pedal. The degraded chemistry simply cannot push enough amps to move the motors.
Follow these steps to measure resting voltage:
Disconnect the battery from the vehicle wiring harness.
Set your digital multimeter to the 20V DC setting.
Touch the red probe to the positive terminal.
Touch the black probe to the negative terminal.
Read the display screen carefully.
The Charger Check
Do not blame the battery before ruling out the charger. A faulty power adapter might display a solid green light. However, it may not transfer actual voltage to the terminals. You can test the charger output using your multimeter. Plug the charger into the wall. Place the multimeter probes inside the connector plug. A 12V charger should push around 13.5V to 14V to properly fill the battery. If it shows zero, replace the adapter immediately. Buying a new battery will not help if the wall adapter cannot deliver current.
Mechanical Wear: Ride On Car Motor Troubleshooting
Identifying Gearbox and Motor Failures
Proper ride on car motor troubleshooting requires listening closely to the vehicle. You must differentiate between an electrical failure and a mechanical one. If the car makes no sound when pressing the pedal, suspect an electrical issue. If you hear grinding, clicking, or motors spinning without movement, you have a mechanical failure. Most entry-level vehicles use plastic gears inside the gearbox. When children shift abruptly from reverse to forward while moving, they strip these plastic teeth. A stripped gearbox spins freely but cannot transfer torque to the wheels.
You can verify a stripped gearbox through visual inspection. Remove the rear wheel. Unscrew the plastic gearbox housing. Inspect the white plastic cogs inside. If you see smoothed edges or plastic shavings mixed in the grease, the gears are ruined. You must buy a replacement gearbox assembly.
Single vs. Dual Motor Limitations
Many budget-friendly vehicles feature a single-motor design. They only deliver power to one rear wheel. This single point of failure limits overall performance greatly. Dual-motor setups distribute the workload evenly across both rear wheels. However, if one motor burns out in a dual setup, problems arise quickly. The vehicle will pull aggressively to one side. It will drag the dead wheel and severely lose speed.
To test motor functionality, follow this process:
Lift the rear of the car off the ground.
Support the axle securely using wooden blocks.
Press the accelerator pedal manually.
Observe both rear wheels spinning.
If only one wheel spins, you have isolated the faulty motor or its direct wiring path.
Environmental and Usage Limits: Terrain, Weight, and Friction
The Impact of Grass and Inclines
Setting realistic performance expectations saves parents a lot of headaches. Grass, dirt, and gravel increase rolling resistance exponentially. The motors must work twice as hard to push through thick lawns. This explains why a 12V ride on car slow on grass might perform perfectly on a smooth paved driveway. A 12V system generally lacks the torque needed for steep inclines or rough off-road terrain. Evaluate where your child rides most often before assuming the vehicle is broken.
Payload Capacity and Outgrowing the Vehicle
Every manufacturer defines strict maximum weight limits. A standard ride on car usually supports between 65 and 130 lbs, depending on the model. Exceeding this limit places immense strain on the motors and battery. Consider the compounding effect of challenging terrain. A child nearing the maximum weight capacity driving uphill on grass will trigger thermal overload fuses. The car will stop completely to prevent a wire fire. If your child has grown significantly, the hardware cannot cheat physics.
Wheel Traction Issues
Traction determines how efficiently power translates into forward momentum. Standard hard plastic wheels often spin out on smooth surfaces. They lose grip on wet grass, wasting precious battery energy. Upgrading to vehicles featuring EVA rubber tires solves this issue entirely. Rubber tires provide superior grip on uneven surfaces. They reduce wasted wheel spin and transfer maximum torque directly to the ground. If your plastic wheels are heavily scratched and smooth, traction loss is causing the slow speed.
Electrical and Control Board Bottlenecks
The Speed Switch and Pedal Assembly
Sometimes the solution requires no parts at all. Always check the high/low-speed toggle switch on the dashboard. Children easily bump this switch into the low-gear setting by accident. This restricts the top speed to half its capability. Switch it back to high gear and test the speed again.
Next, inspect the foot pedal assembly. The pedal houses a simple momentary switch. Dust, dirt, and moisture enter this housing over time. This causes carbon buildup on the internal metal contacts. A dirty switch creates a partial connection. This partial connection restricts full power delivery to the control board. You can pry the pedal switch out gently using a flathead screwdriver. Clean the contacts using electrical contact cleaner.
Wiring and Corrosion
Wiring acts as the nervous system of the toy. Inspect the terminal connectors at the battery and both motors. Look for rust, loose crimps, or frayed wire casings. High resistance in a corroded wire acts like a kinked water hose. It throttles the electrical current significantly. Clean rusty terminals using a wire brush. Secure any loose spade connectors using pliers. A tight, clean connection ensures maximum power flow from the battery straight to the drive motors.
Decision Framework: Should You Fix It or Upgrade?
When to Repair
You should repair the toy if it remains relatively new and fits your child perfectly. If your multimeter testing confirms a dead battery, replacing it offers a very high return on investment. Purchasing an OEM or compatible aftermarket battery costs a fraction of buying a new car. Swap the old SLA battery for a fresh one. Ensure the voltage and physical dimensions match the original compartment exactly. This quick fix restores original speeds instantly.
Diagnostic Reference Summary
Symptom
Diagnostic Action
Likely Fault
Car dies immediately under load
Test battery voltage drop
Degraded battery (sulfation)
Clicking/Grinding noise from wheels
Listen to gearbox while lifted
Stripped plastic gears
Car runs fine on pavement, stops on grass
Check weight limit and terrain specs
Exceeded payload/traction limit
No power at all, no noises
Inspect pedal switch and wiring
Corrosion or disconnected wire
When to Upgrade to a Higher Voltage
Sometimes replacing parts wastes money. If your child approaches the maximum weight limit, an upgrade makes logical sense. If the motors grind loudly and your yard consists primarily of thick grass, a 12V system will continue to fail. Never try to overvolt a 12V system using a 24V battery. This creates a severe fire risk. The excess voltage will melt the internal control boards instantly.
Instead, invest in a native 24V or 36V vehicle. These upgraded models feature thicker wiring harnesses. They utilize heavy-duty metal gearboxes instead of plastic. They also feature suspension built specifically for heavier payloads. A native higher-voltage vehicle handles rough terrain easily without tripping safety fuses.
Conclusion
Troubleshooting a slow vehicle requires a logical, step-by-step approach. Always start by checking the dashboard settings, ensuring the high-speed switch is engaged. Next, grab your multimeter to verify battery health and charger output. You must also evaluate your terrain and payload realistically. Finally, inspect the motors and gearboxes for physical damage. Never attempt dangerous DIY hacks to bypass manufacturer safety fuses. Now, take your multimeter outside and test your battery. Based on your findings, you can confidently purchase a replacement battery or start browsing for a larger, higher-voltage model.
FAQ
Q: Can I put a 24V battery in a 12V ride on car to make it faster?
A: No. Installing a 24V battery into a 12V system creates a severe safety hazard. The excess voltage will blow internal fuses immediately. If you bypass those fuses, the higher current will melt the control board and strip the plastic gearboxes. We recommend purchasing a native 24V vehicle instead.
Q: How long should a ride on car battery last per charge?
A: A healthy battery provides 45 to 90 minutes of continuous drive time. This benchmark fluctuates based on payload and terrain. Driving a heavy child up a grassy incline depletes the battery much faster than a lighter child riding on flat pavement.
Q: Why is my ride on car losing power after only 10 minutes?
A: Your battery likely suffers from severe sulfation. Lead sulfate crystals have hardened on the internal plates due to improper charging or age. This degradation prevents the battery from holding a structural load. Even if it shows a green light on the charger, the capacity is permanently gone.
Q: Why does the car completely stop on grass but work on pavement?
A: Thick grass causes high rolling resistance. This forces the motors to draw excessive amperage to keep moving forward. Most vehicles feature a thermal overload protection fuse. This fuse trips automatically to prevent the motors from overheating or catching fire. The car stops until the fuse resets.